
>> Looking for childcare? Find a babysitter in your area now.
Children are often captivated by the falling leaves and changing colours of autumn and it is common for them to start collecting as many different coloured leaves as they can. So why not channel this interest into a fun and productive activity?
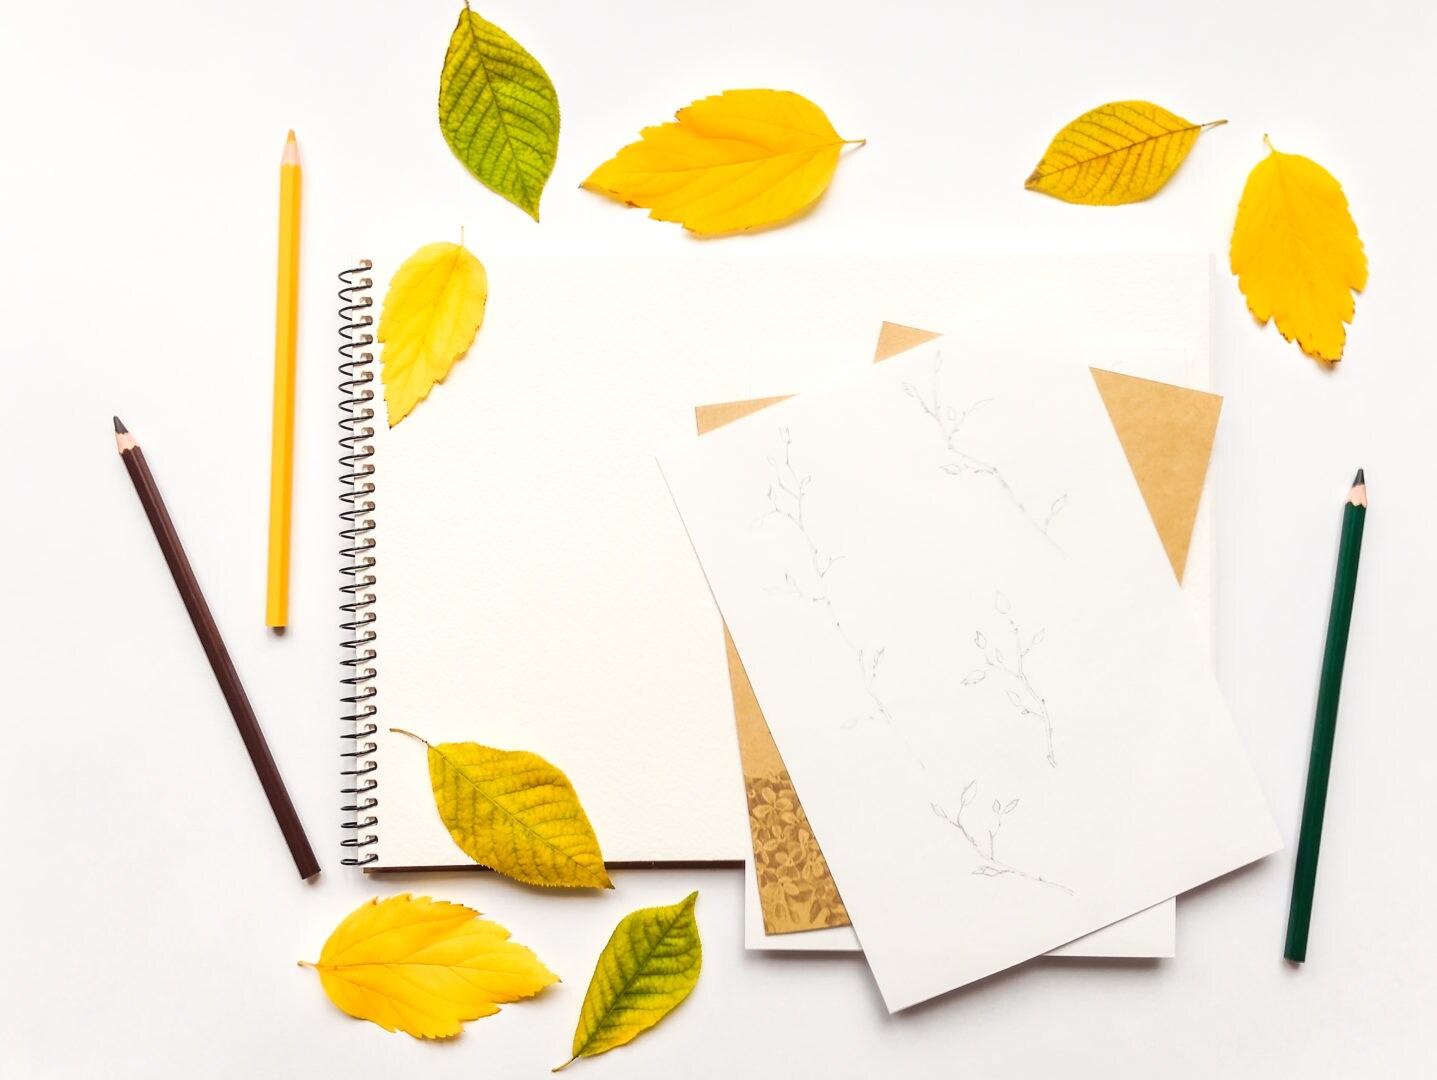
If you have an abundance of leaves outside your home and curious children, then it is time to create an autumnal herbarium! Get your children involved by having them collect a variety of leaves. You can then categorise these and have fun while teaching your children about the native flora. Check out our step-by-step guide to designing an herbarium:
- Various leaves in all autumnal colours
- A small stick, min. 30 cm long
- A roll of kitchen paper
- Heavy books
- 20 sheets of paper, A4 (white, beige, light grey)
- 2 x box (A4) for the cover
- A scissors
- Adhesive tape, preferably transparent
- A paper punch
- Different pens
- String or kitchen yarn
9 simple steps to creating an autumnal herbarium
1. Dry and press the collected leaves. To do this, place a piece of kitchen roll on your work surface and put a leaf on top of it. Put another sheet of kitchen paper on top and compress it with thick books. Repeat this step with each leaf of the collection. Leave the books for at least one to two hours. The longer you press everything, the drier the leaves become.
2. Place the various pressed leaves on an A4 sheet of paper and then carefully secure them with thin strips of adhesive tape.
3. Your child can then write the name of the tree from which the leaf originates on the respective page. If you really want to foster learning through this activity, have your child look up the name of the plant in a Latin dictionary and write it under the name of the tree. This way, they will learn a lot right away. Repeat the process for all the pressed leaves.
4. When all the leaves have been attached, lay the individual pages on top of each other and press them again for about an hour. During this time, your child can design the title page of the herbarium with glitter pens, autumnal motifs, drawings, stickers, etc. Your child’s imagination knows no bounds!
5. Punch the pages with the puncher. Be sure to punch the pages in the same place so the book will fit together.
6. Compile your herbarium book in the order you want, for example, alphabetically or by the colour of the leaves. Align all the pages with the cover of the book.
7. Cut the stick to 30cm.
8. Thread the string through the first hole of the book and wrap it around the stick. Then thread the string through the second hole, tying it to the stick. Finally, pull the string through the first hole again and then through the second hole. Pull everything tightly so that the stick holds well.
9. Tie the cord at the end and cut off any unnecessary scraps. You can also tie a bow, which will make the herbarium look even prettier. And that’s it – now you and your child can sit back and enjoy the beautiful and informative herbarium!
If designing an herbarium book feels like too much work, you can always buy a nice notebook instead–A4 and unlined–and fill that with the pressed leaves.
>> Looking for childcare? Find a babysitter in your area now.
