As a caregiver looking for your next job opportunity online, you want to convey to potential clients that you’re professional and reliable. A high-quality headshot is key to portraying confidence and making a solid first impression.
Clark Stinson, a professional photographer in Kansas City, says a great headshot indicates to potential employers that you have good judgment. “Your attention to this detail reflects on your ability to be successful in other parts of your job,” he explains.
Whether you’re updating your profile photo on social media networking sites or creating a new profile on a hiring platform, a high-quality photo really does enhance your online presence. Brandon Ballweg, photographer and founder of ComposeClick, an educational resource for photographers, points out that recruiters often view your profile as an extension of your resume, so including a professional-looking headshot will “help you stand out from the crowd.”
Here, expert tips on how to take a professional headshot to score your next job.
How to prepare to take a professional headshot for your profile
Once you’ve committed to a DIY photoshoot, there are a few things you can do to not only make it an efficient use of time but enjoyable too. “It’s completely normal to be a little awkward in front of a camera,” notes Stinson. “Most people are not modeling full-time. Also, sometimes being awkward gives us the opportunity to laugh at ourselves and show our true [selves] in a photo.”
Here’s what you’ll want to do to prepare for your photoshoot — including tips that will give you an advantage over your competition.
“If you are working with kids, you might have more color in your headshot. Maybe you dress a little more casual. If you’re working with seniors, you might go with a more neutral image.”
— Clark Stinson, a professional photographer in Kansas City
Choose the right outfit
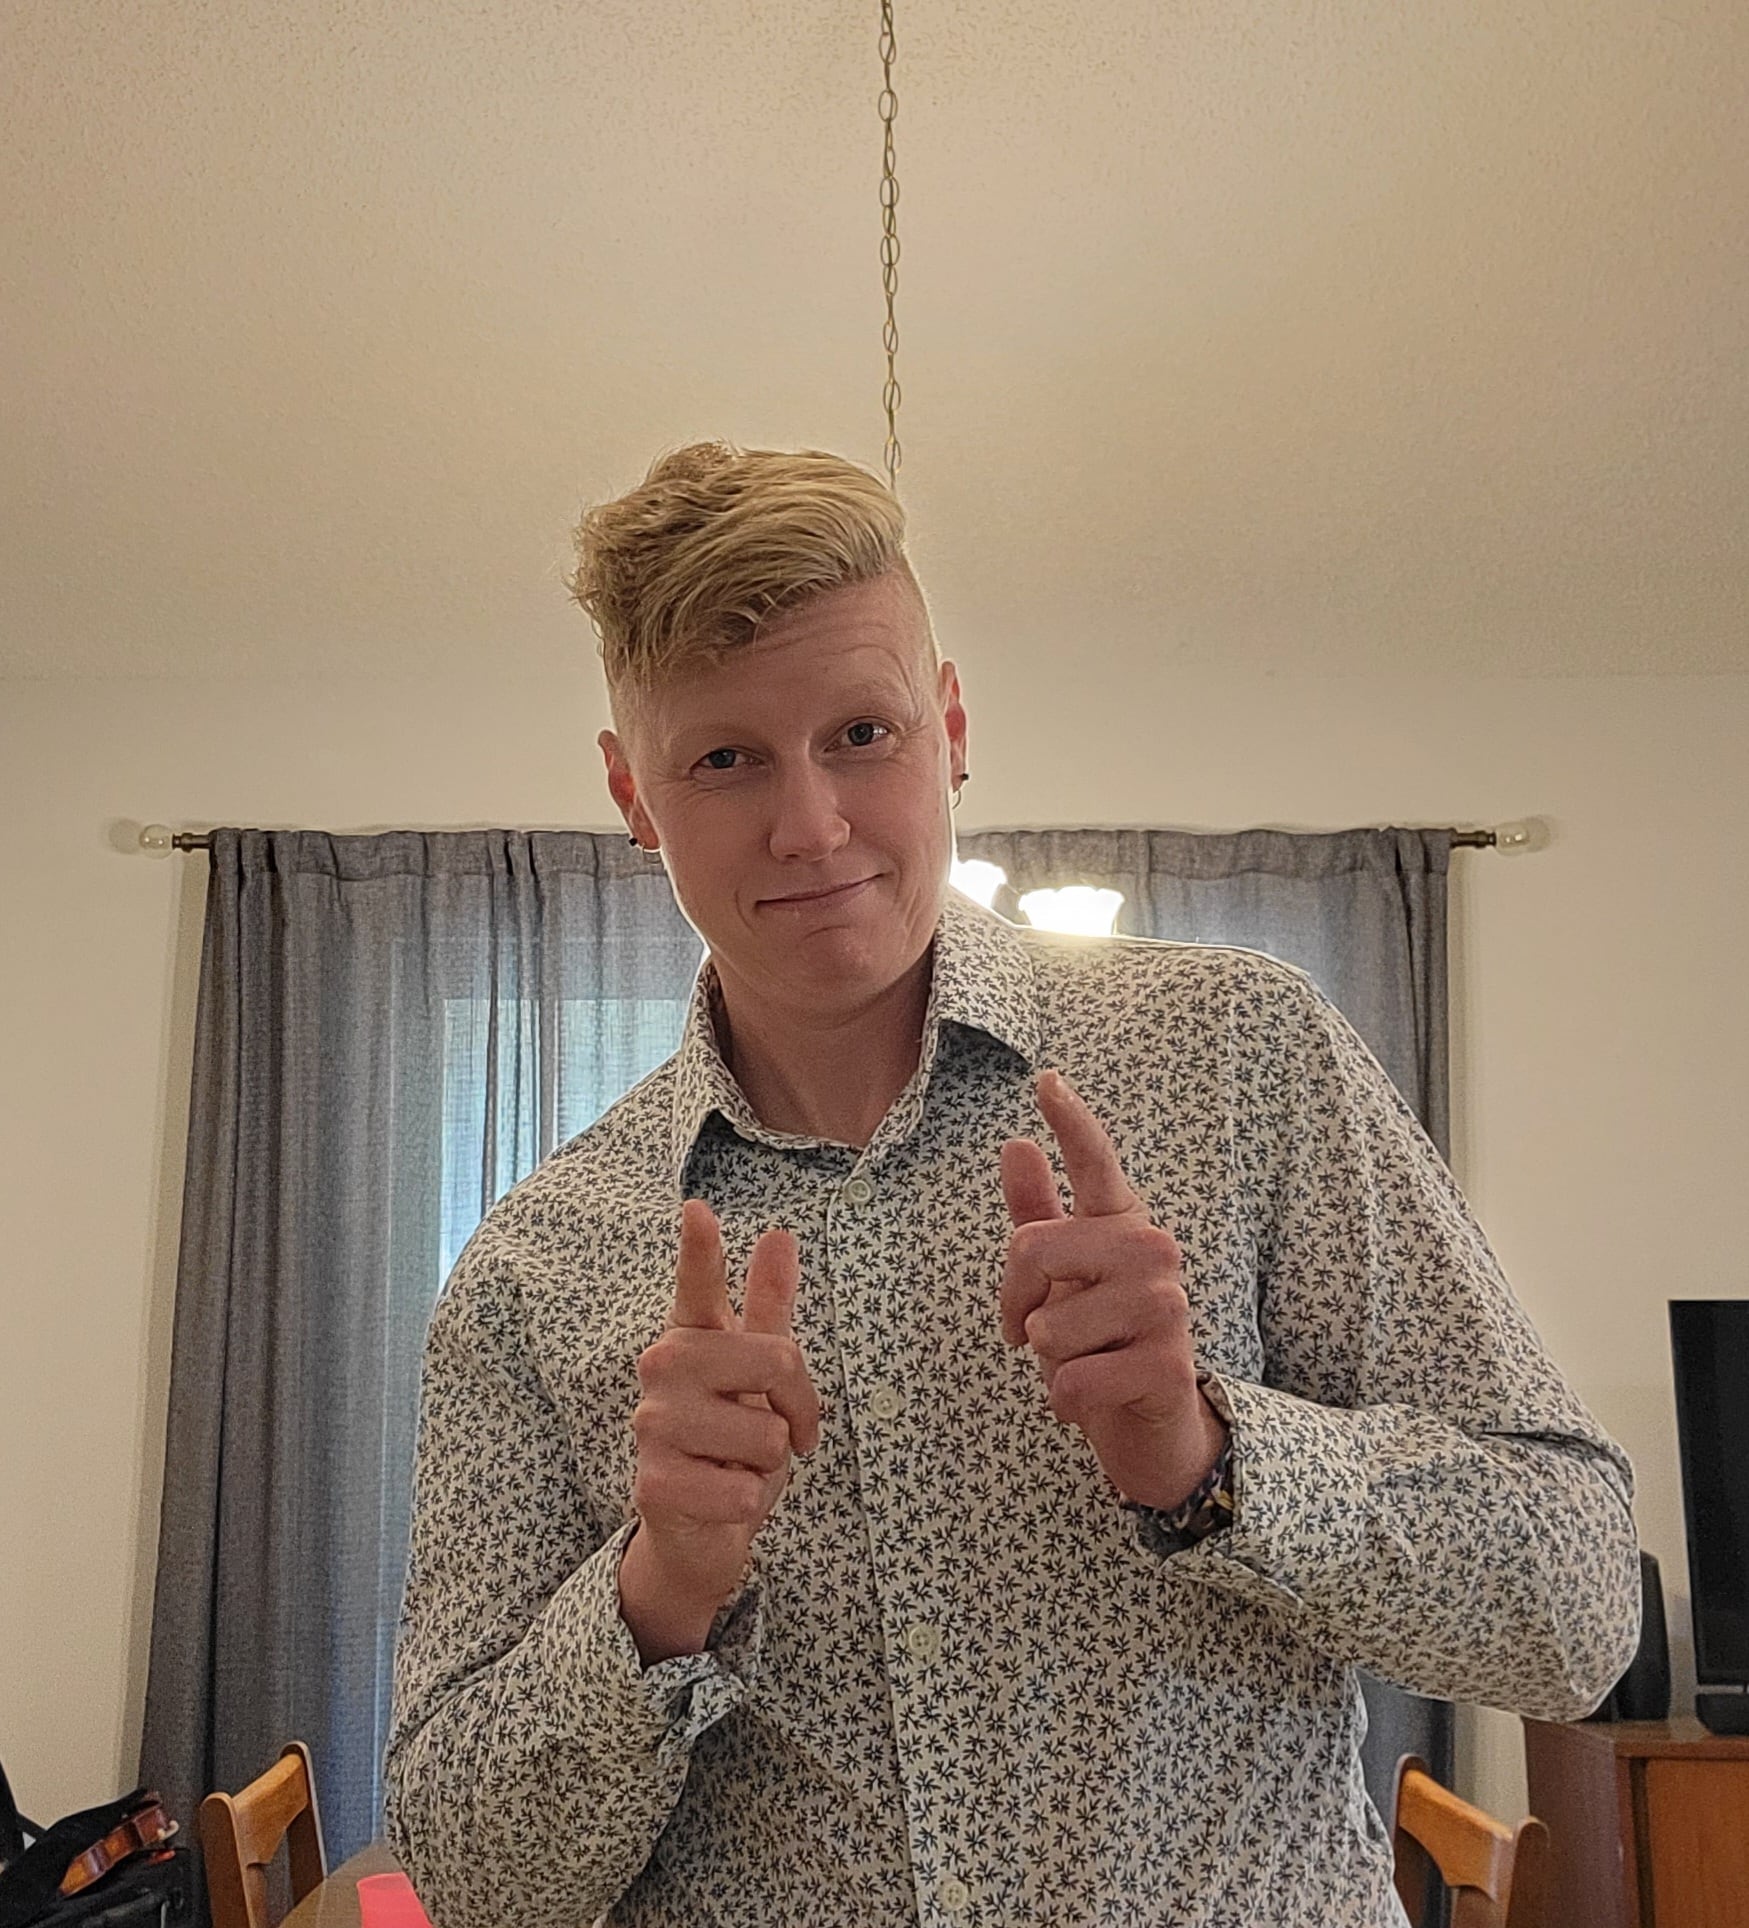
Wear a color that compliments your skin tone, advises Giana Cormier, senior video producer at Care.com. At the same time, avoid wearing busy patterns, shirts with brand names or logos or very bright colors — and resist any urge to wear sunglasses or a hat, as all of these details can be distracting.
“If you are working with kids, you might have more color in your headshot,” says Stinson. “Maybe you dress a little more casual. If you’re working with seniors, you might go with a more neutral image. Use your best judgment and look to leaders in your industry you can take inspiration from.”
You might also consider taking portraits in multiple outfits so that you have the option of choosing the photos that look the most flattering to you, says Ballweg.
Decide on makeup
Whether or not you opt to wear makeup, start out with clean, well-moisturized skin. If you are going to wear makeup, Ballweg says that a natural look is always a safe choice. He recommends ensuring that makeup is evenly applied, as “any inconsistency can be amplified and very obvious in a photo.”
If you have oily skin, Ballweg says to consider using a blotter sheet or mattifying gel.
Set up a distraction-free background
Find a clutter-free space, recommends Cormier. Make sure the background of your photo is plain, so that the focus is on you and not your dishes or vinyl collection.
That said, you might also just rely on the magic of photo editing to create the ideal background. “A tried and true look for professional portraits is to use a white background, so consider using Canva or hiring a photo editor to cut your photo out, and put it on a pure white background,” says Ballweg.
What to avoid:
Get the most out of your equipment
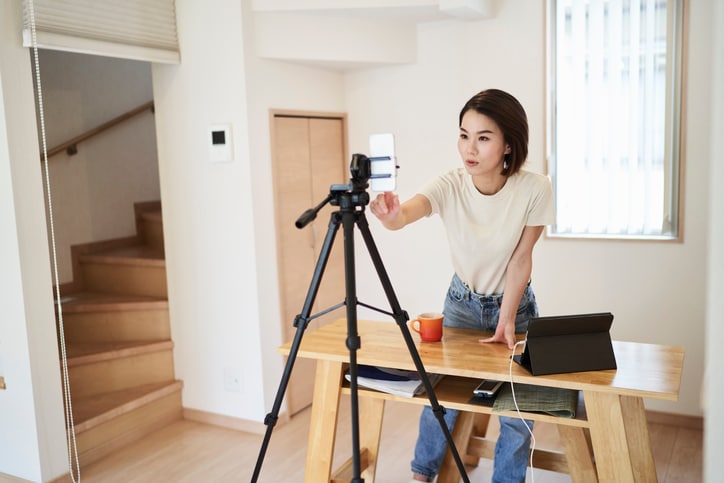
Chances are, you’ll be using your phone to take your headshots, so you’ll want to make sure your photo settings are tailored to this type of photography. “A quick Google search with the type of phone you have would be the most helpful [for learning how to adjust settings],” notes Cormier. “Usually, if you go to your ‘camera settings’ and then ‘camera,’ you can adjust your camera settings.”.
Then, to set yourself up for success and snag for the highest quality images, adjust the settings on your camera to 1080p or 4K.
Perfect your lighting
Good lighting can make a world of difference for your headshots, taking them dark and shady or overexposed to soft and natural. For starters, take your photos during the day, and shoot by a window with your face facing the window. “If shooting outside, avoid shooting around noon to 2 p.m.,” advises Cormier. “This is the brightest time of the day, which could lead to your image being overexposed.”
Another option is to use a ring light, a circular light that casts flatter light, says Ballweg If you are using your phone camera, there are ring light kits that you can attach to your phone. Ballweg says he prefers to use a ring light during the day because when done at night the results could be too dark with too much contrast. He says this more dramatic look can be good for artistic portraits but not necessarily business photos.
Your professional headshot photo shoot: What to know
The room is prepped, your outfit is on point and the lighting is perfect. But are you ready? It can feel weird to take photos of yourself when they aren’t selfies meant for social media. But you want your authenticity and confidence to shine while looking professional. Here are more expert tips.
Strike the best pose
While lighting is key to a great photo, so is your proximity to it. Ballweg says one of two positions near a window will help: You can position yourself so that your side is to the window, and then, frame the photo so that you exclude the window. “This results in a nice lateral light that works well for portraits,” he says. Alternatively, you can face towards a window and position the camera so its back side is towards the window as you take your photo. This results in soft, even light.
Cormier says to lean towards the camera a bit to help create a stronger jawline. It will also bring your eyes into focus, she says. “Position yourself so you are fully in the frame from the belly button or chest up,” she suggests. “Leave headroom so you do not crop your head out of the frame.”
Take a lot of photos
Cormier says that you want to have options, so don’t be afraid to take more than you’ll need.
“In our digital world, it is completely fine to take a lot of pictures and delete the ones we don’t like,” says Stinson. “This allows us to be OK with making mistakes. Once we are OK with making mistakes, we’re much more carefree and less awkward.”
Do your best to let go
“Have fun with it!” says Cormier. “Relax your body and don’t overthink things. I tend to direct people to think of something funny or give out a fake laugh to loosen them up.”
Post-photo shoot to-dos
Once you have lots of great photos to choose from, it’s time to make final decisions and final edits.
Don’t overdo the touch-ups
While you’ll want to avoid filters, advises Cormier, you can do some light editing to your photos.
Ballweg adds, “For a professional look, add to the color saturation a bit to make the colors pop, but don’t overdo it.” In other words, avoid adding too much contrast or overshadowing the image. He also says to avoid using a clarity slider, which is a smarter version of a contrast slider that only adjusts the mid-tones of a photo.
Finally, to keep the focus on your upper torso and face, be sure to crop the image, advises Stinson. Ballweg recommends sticking to an aspect ratio of 4:3, 3:2 or square. He says most cameras photograph at a 4:3 or 3:2 by default so be sure to maintain that when cropping.
Pick the best photo
Though you’ve created a whole collection of potential headshots, Cormier says you’ll ultimately want to select the one you felt most comfortable in — and it shows. “If you can’t decide, share your top three favorites with family or friends,” she recommends.
Once you make your final choice, you’ll do well to use that image for all of your professional profiles in order to maintain consistency.
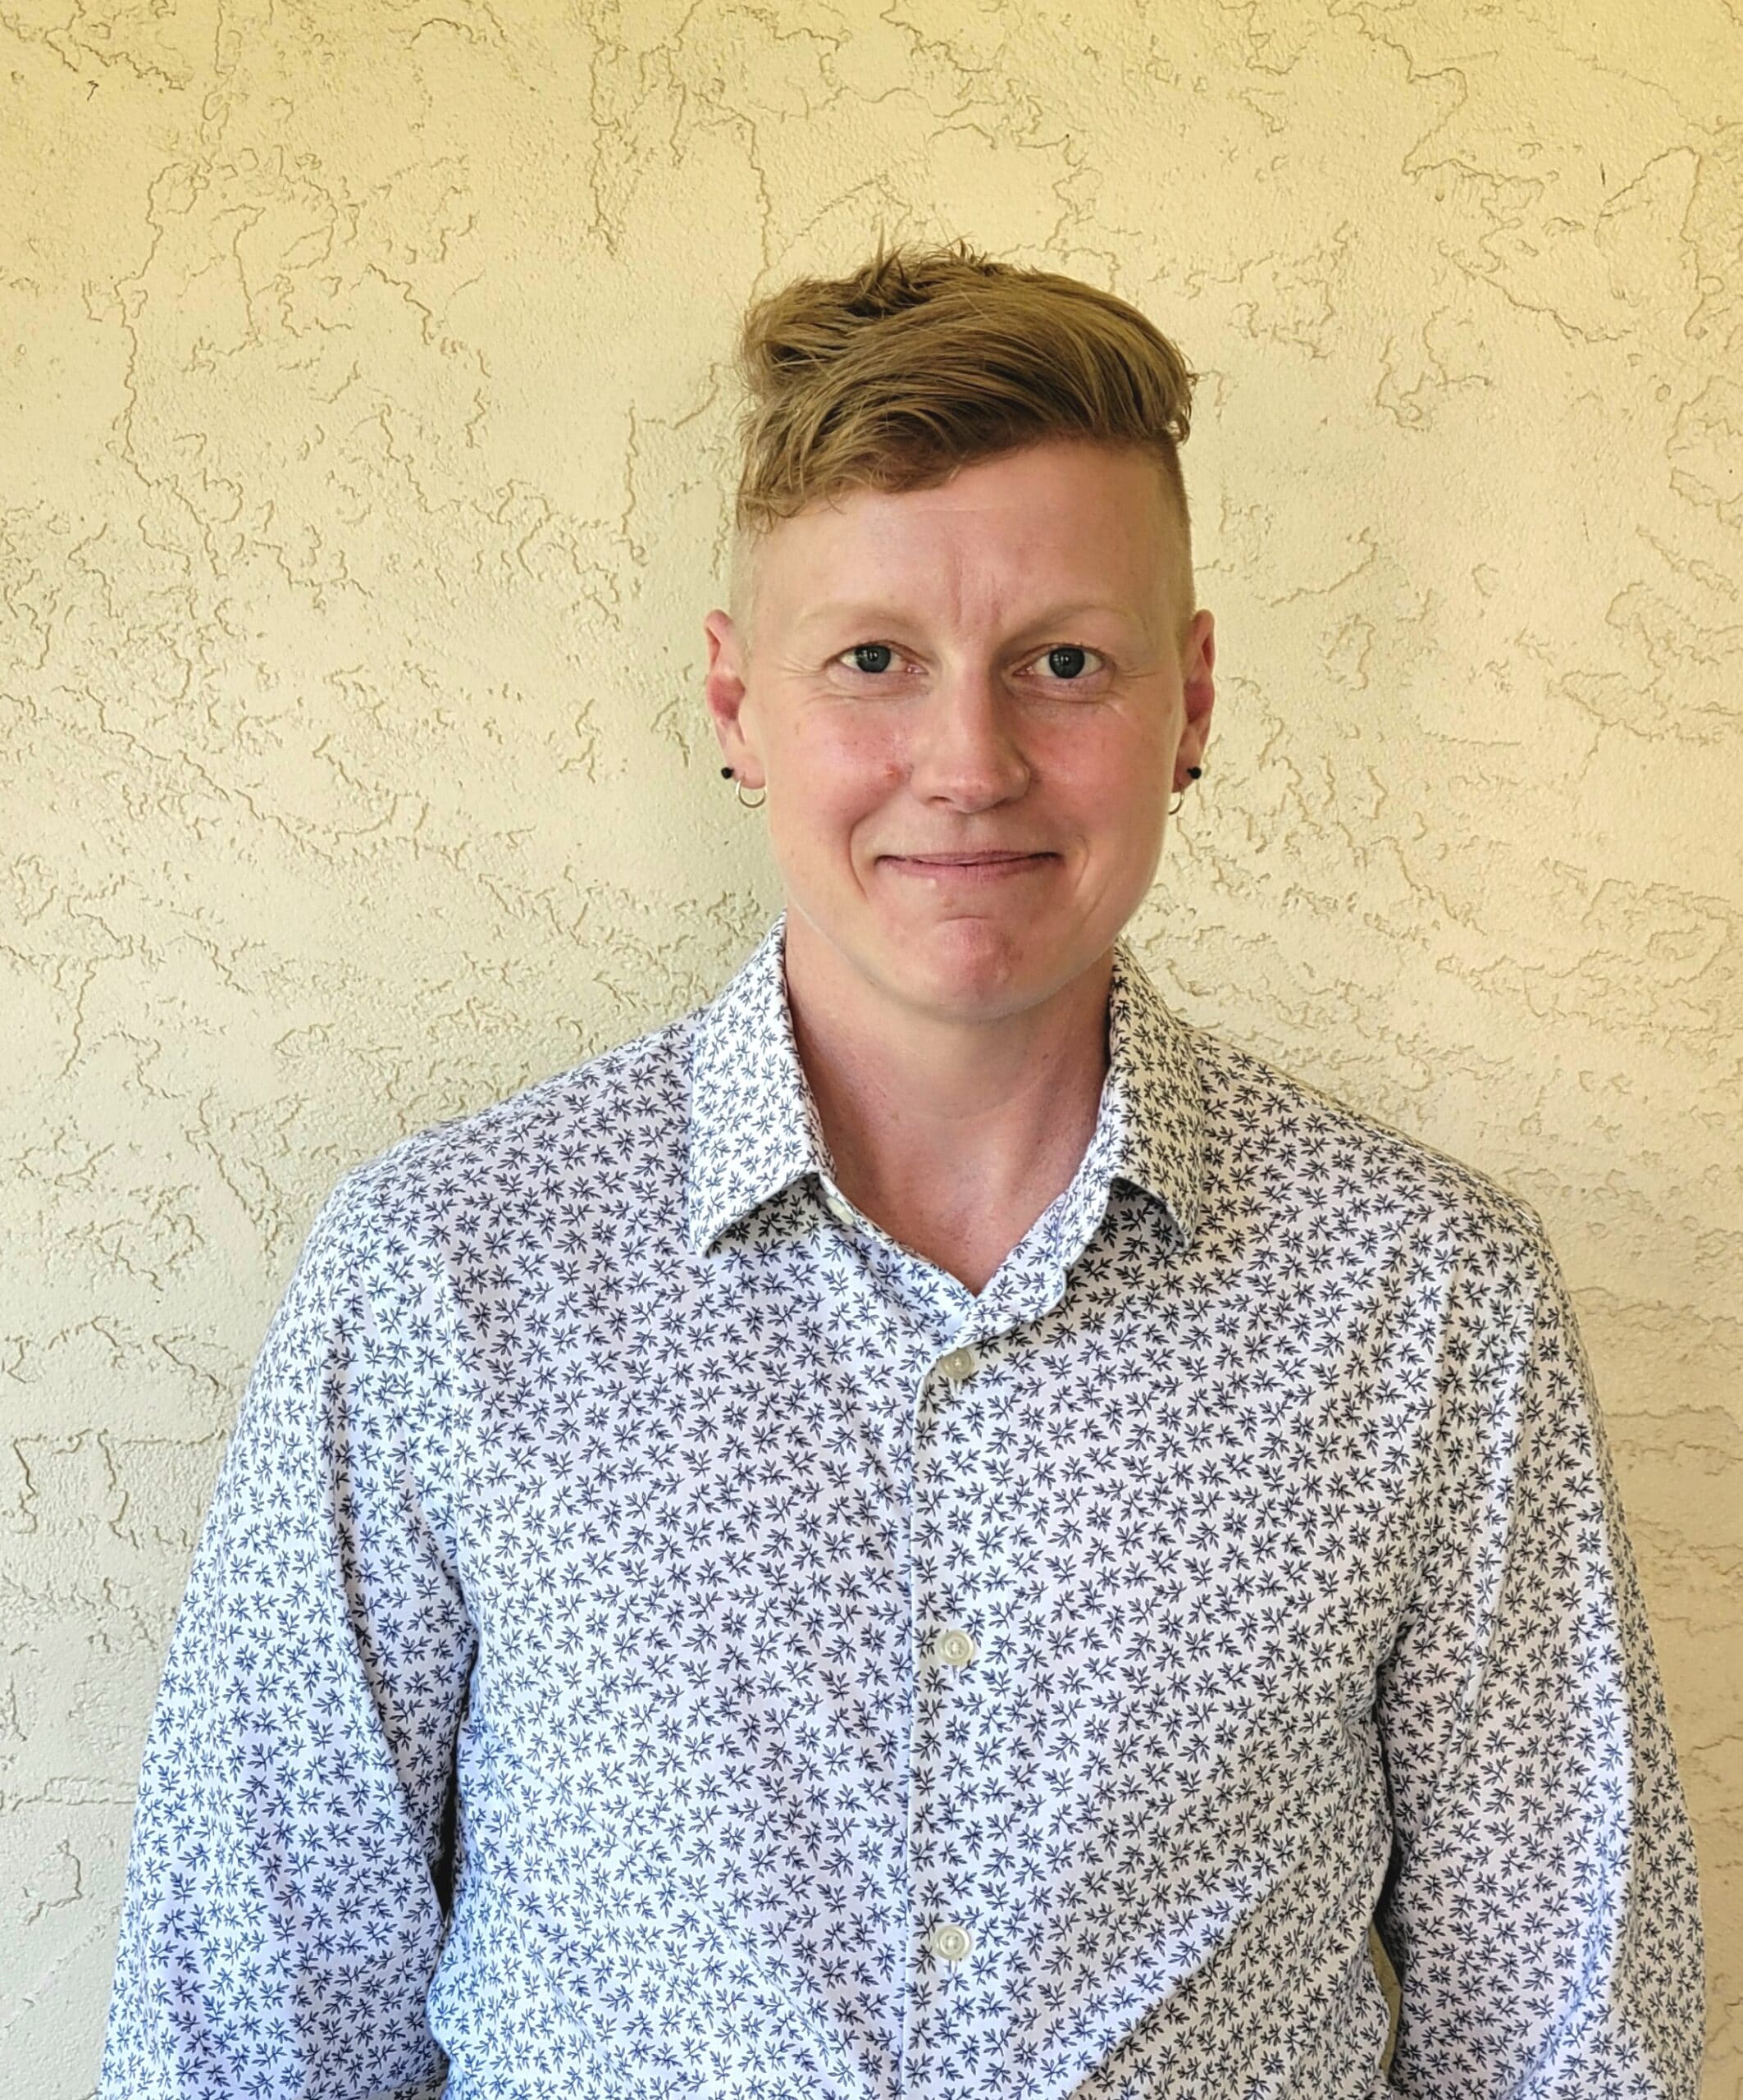
A winning end result:
The bottom line on taking a professional headshot
You don’t need to be a model or a professional photographer to get a great profile photo. You just need to focus on a few details to get that great shot. Your attention to those details will not go unnoticed.
Hold your head up high (not too high, because angles), and work the camera with confidence. It may take 95 saved images to get the one, but with a little patience and fun, you’ll capture your next and best profile photo.
