Cleaning can often feel like an uphill battle. As soon as you clean one thing, you immediately notice the ten other things that need to be done. You follow a cleaning schedule, but it doesn’t seem to eliminate the problem. Are you doing something wrong? You might be.
You could be making cleaning mistakes that actually make homes dirtier.
Improper cleaning habits spread germs and grime, says Britney Lancaster, a professional cleaner and organizer in Los Angeles. Even the habit of saving quick cleaning tasks for “later” can lead to build up on surfaces that are tougher to remove when you finally get to it, she says.
Learn from cleaning professionals how to avoid 10 common cleaning mistakes many people make, as well as some quick tips on how to fix them.
Key takeaways
- When it comes to cleaning, sequence matters. Dust before you wipe, sweep before you mop, cover before you climb. The order of operations is half the battle.
- The right tool prevents the wrong mess. A trash bag that’s too thin or a mop on an unswept floor creates more work, not less. Make sure you have the right tools at the ready before you begin cleaning.
- Always read and follow the manufacturers’ directions. Check labels on cleaning solutions for how to correctly mix and apply products to avoid build up or possibly toxic combinations.
- Contain the problem before you move it. Whether it’s dust raining down on clean furniture or dirt tracked back across a fresh floor, most cleaning mistakes come down to spreading what you meant to remove.
Best cleaning tools to use according to experts
Before you get started on tackling your next cleaning day, stock up on a few cleaning essentials recommended by our experts. Most of these things can be purchased at your local grocery or hardware store.
- Broom.
- Microfiber mop.
- Microfiber cloths.
- Electrostatic duster.
- Foot covers.
- Trash bags that are the proper size, weight and thickness.
- Nitrile powder-free cleaning gloves.
- Disposable face masks.
10 common cleaning mistakes to avoid (and how to fix them)
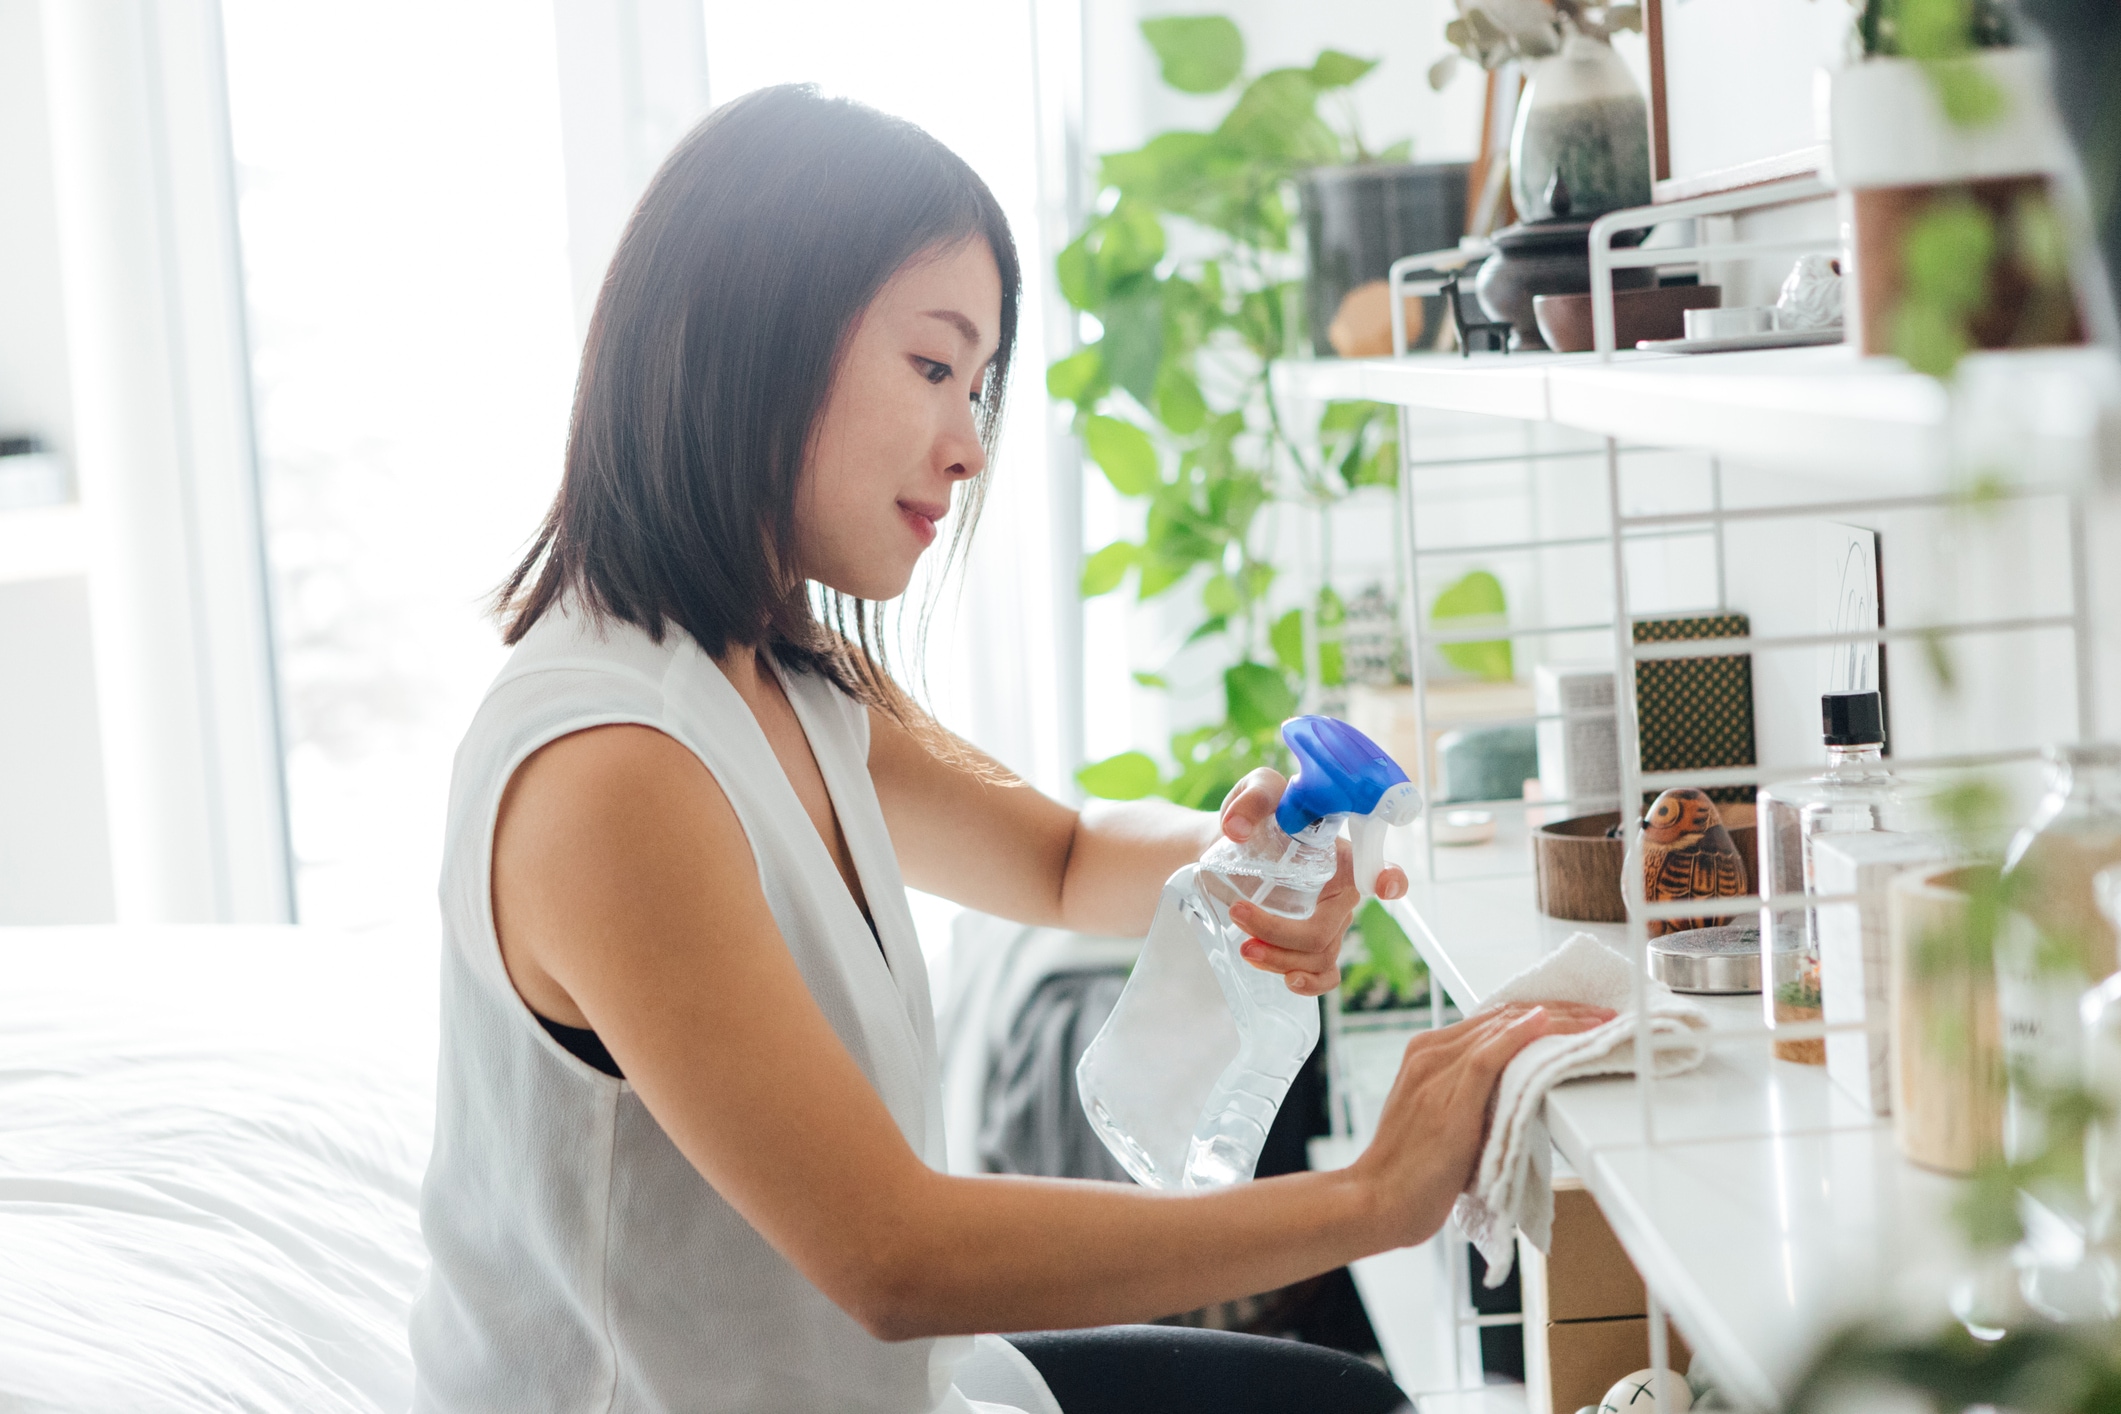
1. Problem: Using too much product
When you’re trying to clean well, it can be easy to overdo it with the latest and greatest cleaning products and supplies. Lancaster says sometimes people over-use products, which can actually have the opposite of the intended effect.
“They think it will make what they’re cleaning ‘cleaner,’ but using a small amount can go a long way,” she says. Too much product leaves residue and actually traps more dirt.
Quick Fix: Read and follow the instructions on the product label for how much to use per task or per gallon of water. Also, instead of spraying solution directly on surfaces, spray onto a microfiber cloth and then wipe the surface clean. This prevents soaking and overuse.
2. Problem: Mixing products
Another cleaning mistake people make when trying to strengthen their cleaning solution is mixing it with another product. You’ve probably seen this touted as a “smart cleaning hack” on social media, but Lancaster warns this kind of mistake can be hazardous to your health.
Mixing chemicals can create dangerous products and reactions. This is especially true for bleach. The Centers for Disease Control and Prevention (CDC) warns that mixing any other cleaning solution with bleach can be damaging to the lungs.
Quick Fix: Clean with regular soap and water or only use one solution at a time. If you use bleach, be sure to dilute it with water and use it in a ventilated area according to the package instructions.
Read more:
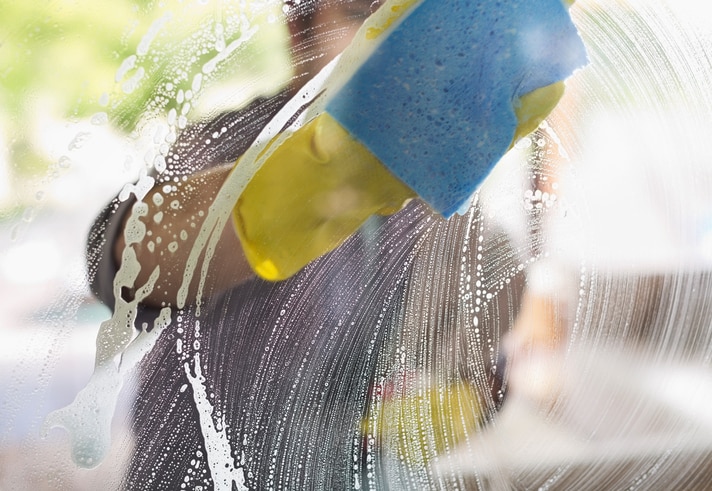
3. Problem: Improper rinsing
Iryna Balaban, co-owner of Sunlight Cleaning NYC, says people often make the mistake of neglecting to thoroughly rinse the soap or cleaning solution from cloths before wiping down surfaces. You might be trying to cover more ground before rinsing to get the task done faster, but you may also be making more work for yourself.
“You leave behind a film on the surface that attracts dirt and dust over time,” Balaban explains.
Quick Fix: Be sure to rinse cleaning cloths until the water runs clear before moving on to clean the next surface.
4. Problem: Using a disinfectant before cleaning
“Always clean prior to disinfecting,” says Balaban.
She explains: “Cleaning a surface first removes all loose debris, such as food, grease and other contaminants that may prevent disinfectants from reaching [the surface].” Debris will trap the disinfectant, she explains, so it cannot get to the areas where the germs and bacteria reside.
Quick Fix: After you’ve cleaned the surface with the appropriate cleaning product (such as a cloth, duster, etc.), allow it to dry slightly before spraying a disinfectant. The CDC says a simple soap and water solution can remove most germs, but a disinfectant will reduce the spread of disease if someone in the home is sick.
5. Problem: Using either a dry rag or feather duster
Feather dusters are cute, but they may also be the perfect example of style over solution. Balalban says dry rags and feather dusters often do the opposite of cleaning — they move the dust instead of picking it up.
“They will displace dust in the area being cleaned, not remove it. And many dry microfiber cloths will simply push the dust around and back onto surfaces,” she says.
Quick Fix: Use a slightly dampened microfiber cloth or an electrostatic duster that captures dust particles versus spreading them.
6. Problem: Using the wrong trash bags
Nobody wants to end a cleaning day by seeing a trail left behind from a leaking trash bag.
The problem often starts by simply grabbing whatever bag is under the sink. But bag thickness matters more than most people realize, says Murray Rogers Clark of Murray Clean in Plymouth, Massachusetts.
“Thinner bags tear easily,” he says, “meaning the mess you thought you contained ends up back on the floor anyway.”
Quick Fix: Check the mil (thickness) before you buy trash bags, and match the bag weight to what you’re actually throwing away. If you have thin bags, double up to prevent messes.
7. Problem: High dusting without protecting surfaces below
Tackling ceiling fans, light fixtures or chandeliers feels productive — until you realize you just redistributed a layer of dust across every surface in the room. As Clark notes, skipping coverage before or after high dusting spreads debris and dust mites right back where you started.
Quick Fix: Clean from top to bottom to avoid doing twice the work. Leave floors for last, and be sure to use drop cloths when cleaning fans, light fixtures or chandeliers.
Read more:
8. Problem: Tracking dirt back across clean floors
This common cleaning mistake shows up two different ways, says Clark. The first is at front entrances where you’re working at the intersection of outside and inside. Here, your shoes can track in more dirt and debris to become part of the job you’re trying to finish.
The second way people often track dirt on floors is by stepping back into a section of the floor they’ve already cleaned, undoing progress without even noticing it.
Quick Fix: Use foot covers to keep outside dirt from following you in. And remember: clean in one continuous direction away from the area you already finished when sweeping or mopping.
9. Problem: Mopping before sweeping first
Using a mop to clean a dirty floor just swirls the dirt around. The experts we spoke to agree that debris should be moved off the floors first. Skipping straight to the mop feels efficient, but water and a dirty floor just make mud; you need to lift loose debris first.
Quick fix: Clark says to always sweep or dry-vacuum before any wet cleaning. Then, mop what’s left after the dry pass.
Use a microfiber mop and a low toxicity cleaning product like ENVIROX H2orange2 hydrogen peroxide cleaner and sanitizer.
Find house cleaning services near you.
10. Problem: Dirty mops and mop water
The temperature and cleanliness of your mop is an essential part of wet cleaning a floor. Clark says cool or lukewarm water is usually fine; however, he warns that you should consider the cleaning product’s instructions and the floor type. For example, you could damage a hardwood floor with boiling water.
Despite the temperature of the water or the type of solution you use, changing the mop water as you clean is necessary. “If the water turns grey, change the water,” he offers as a rule of thumb.
Quick fix: Check the floor type and proper cleaning instructions before mopping. Keep your mop clean by rinsing the mop and changing the water frequently. Lastly, be sure to thoroughly clean the mop before storing.
A final tip on proper cleaning
Even if remembering all the cleaning rules and keeping up with all the right cleaning supplies seems overwhelming, it doesn’t have to be.
Small efforts add up, says Lancaster. This is especially true when it comes to deep cleaning days. “Instead of spending ALL DAY cleaning, you might just need a few hours,” she adds.
Cleaning mistakes that make a home dirtier are rarely about effort. They’re more about creating a system and using the right tools for the job. A few small adjustments in how you approach each task can mean the difference between a home that just looks clean and one that actually is.