There’s nothing quite like crisp, cool fall days to get everyone in the Halloween spirit. Between getting costumes ready and selecting the perfect candy for trick-or-treaters, there are so many fun activities to do around the house.
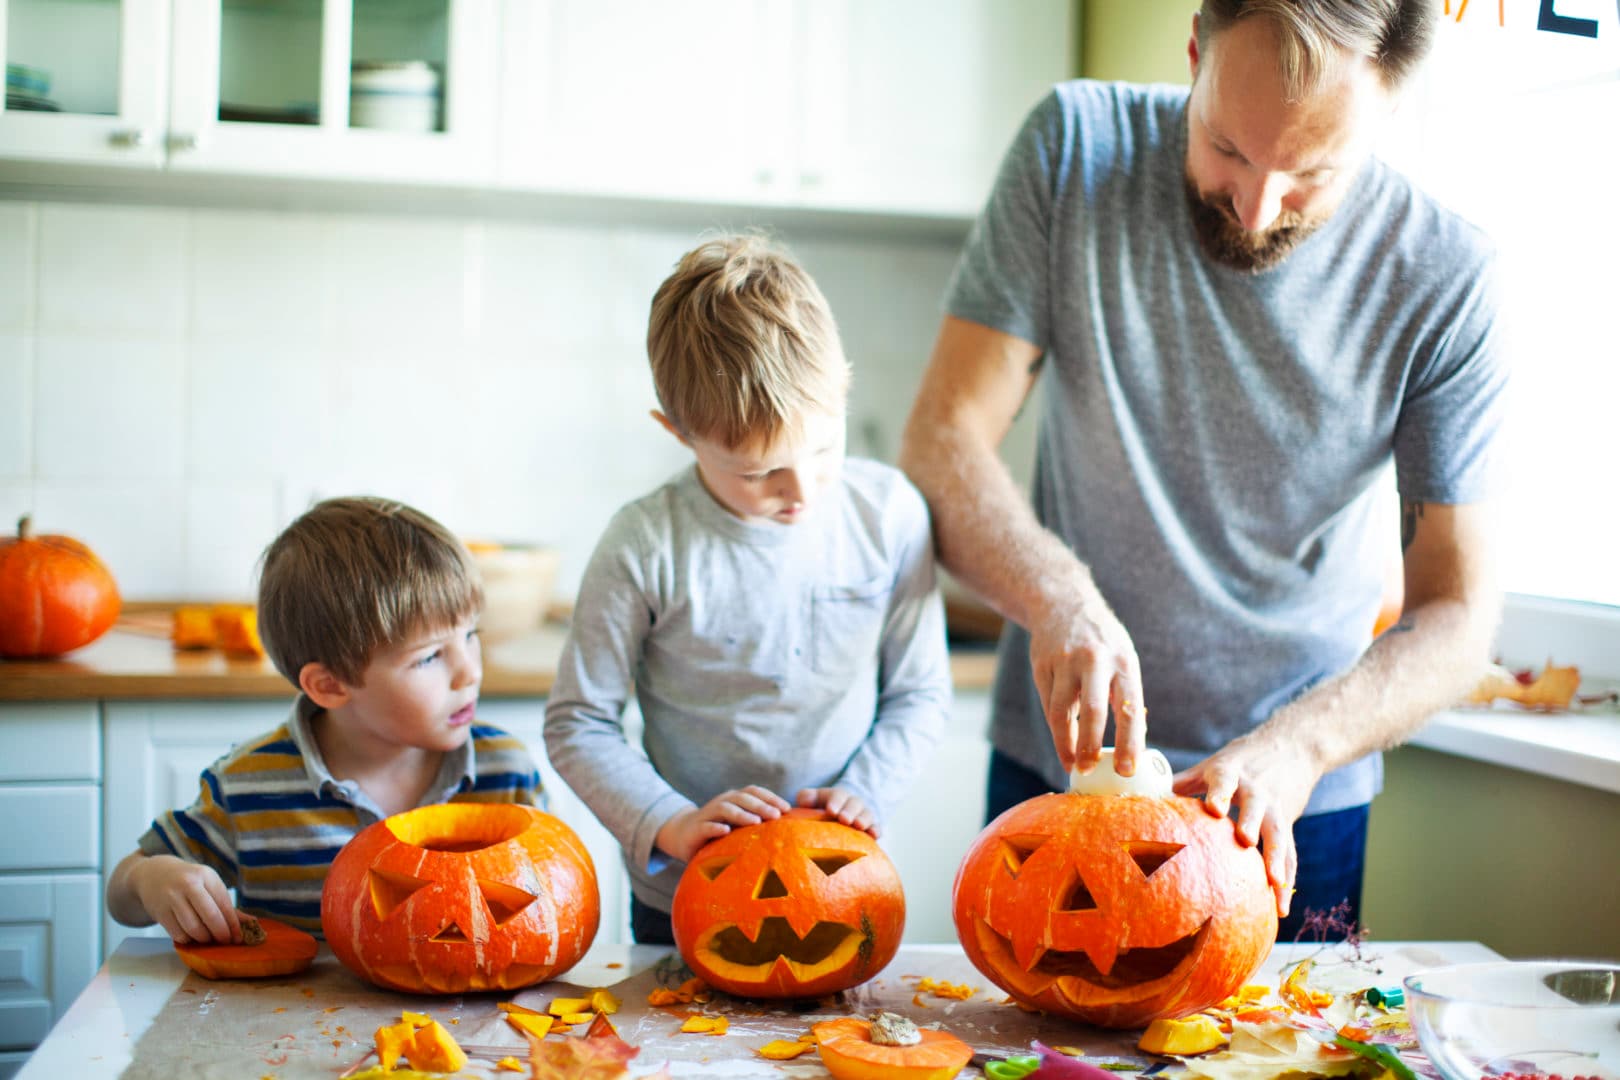
So create a scary or silly pumpkin with children this Halloween. Ryan Ferguson, of Smoky Mountain Knife Works in Sevierville, Tennessee, and Asher Horcher of Horchers Farm in Wheeling, Illinois, offer advice on how to select and carve that perfect pumpkin and create a fun and safe Halloween tradition.
1. Pick the right pumpkin
The bigger the pumpkin’s surface, or face, the more room you have to carve. But what you may not know is that the ridge depth in a pumpkin can affect how well can you carve. “You want to stay away from pumpkins with deep ridges,” said Horcher. “The deeper the ridge, the harder it will be to cut the pumpkin.”
Instead, look for pumpkins with thin ridges that give the pumpkin an almost-smooth appearance. Avoid ones that are bruised or have a moldy stem. And look for pumpkins that are a lighter color because they will be easier to carve.
2. Get your workspace ready
When it comes to carving pumpkins, making a mess is part of the fun. Between carving and scooping out the seeds, everyone is sure to get dirty, including you. Prepare in advance by laying newspaper on your workstation, which should be a smooth, flat surface. Have bowls ready to dispose of the pumpkin’s insides. And it might not be a bad idea to have everyone wear aprons or old T-shirts, either.
3. Clean your pumpkin
Use a damp paper towel to remove any grime on the pumpkin. Pat it dry with a new, clean paper towel.
4. Select the right knife
According to Ferguson, you need the right tool to carve the pumpkin, and not just any knife will do. “A cheap folding knife is a terrible idea for carving,” he instructs. “You also don’t want to use a knife with a long blade, or any of those monster blades, like a butcher’s knife. A shorter knife will be easier to maneuver in the pumpkin’s flesh.” A knife with a four-inch blade should be perfect.
5. Remove the stem
Taking off the stem will make it easier to scoop out the pumpkin’s flesh and seeds. Using a knife, cut a circle around the pumpkin’s stem and remove the top.
6. Scoop it out
Using an ice cream scoop, a heavy serving spoon or your hands, reach in and remove the pumpkin’s insides, including the stringy flesh and seeds, then dump them in a bowl or on newspaper. Children will enjoy the stringy “guts,” so get ready for a mess. If you want a tasty fall treat, consider cleaning and roasting the pumpkin seeds.
7. Pick a design
Will you make a scary or silly face? Will you write your family’s name on it? Search online for free printable stencils, then tape your favorite to your pumpkin as a guide. Grab a pencil or marker and trace or draw your design. Use your pencil’s eraser or a damp paper towel to erase any mistakes.
8. Make your incision (and be safe)
Carving is a task best left to parents, caregivers or older teens although some older children may be able to cut under adult supervision. If you make a mistake while carving, use tape, toothpicks or pins to reattach pieces of the pumpkin.
9. Keep that pumpkin smiling — or scowling — all night long
Pour equal parts lemon juice and water in a spray bottle and spritz on all cut pieces of the pumpkin to keep it looking fresh. For the best results, carve your pumpkin a day or two before Halloween, and store it in a cool space. Depending on the weather, the front door is the perfect spot.
10. Make your pumpkin stand out
Decorate your pumpkin with sequins, glitter and markers. Parents or caregivers can use hot glue to attach feathers, pipe cleaners and other materials to the pumpkin, too. You can also get creative on where you carve your pumpkin. For example, use the pumpkin’s stem as a nose and cut out two eyes above it and a smile below the stem. Display the pumpkin on its side so it can be seen easily from the road.
11. Light it up
Use a votive candle, small flashlight or flameless candle to light up your carved pumpkin, especially if you are keeping it on your porch.
By carving pumpkins together, families can bond and make new Halloween memories, while also encouraging creativity and practicing basic safety precautions. Your spooky or silly creation is sure to delight your family and trick-or-treaters this year.